

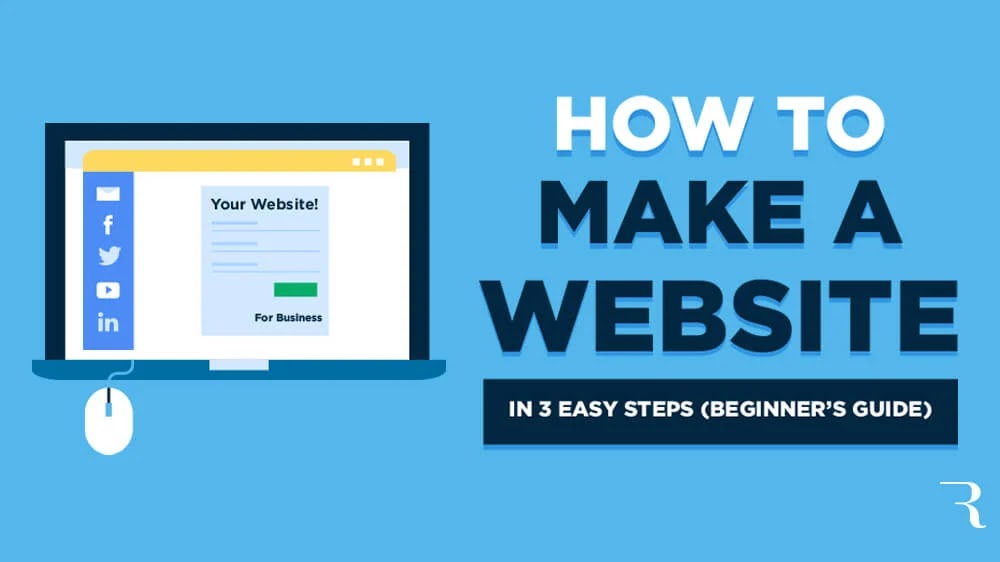
In today's digital age, having a website has become a necessity for businesses and individuals alike. A website not only helps establish an online presence but also allows you to showcase your work or products, connect with potential customers or clients, and promote your brand. While many people assume that creating a website is a costly and complicated process, there are several ways to make a free website that is professional-looking and functional.
In this article, we will walk you through the steps involved in creating a free website from scratch.
Step 1: Choose a Platform
The first step in creating a free website is to choose a platform or content management system (CMS). A CMS is a software application that allows you to create, manage, and publish digital content. Some of the most popular CMSs include WordPress, Wix, Weebly, and Joomla.
WordPress is the most popular CMS, powering over 40% of all websites on the internet. It is easy to use, highly customizable and has a vast community of users and developers who create and share themes and plugins.
Wix and Weebly are website builders that allow you to create a website using drag-and-drop tools. They are ideal for beginners who want to create a website quickly and easily without any coding skills.
Joomla is a powerful CMS that is used by many businesses and organizations to create complex websites. However, it has a steeper learning curve than WordPress or website builders.
Step 2: Choose a Domain Name
The next step is to choose a domain name for your website. A domain name is the web address that people use to access your website, such as www.Digitalmarketinghutagency.blospot.com. It is important to choose a domain name that is easy to remember, reflects your brand or business, and is not already taken.
There are several domain name registrars that allow you to register a domain name for free, such as Freenom, Dot.tk, and Biz.nf. However, these free domain names usually come with limitations and may not be as professional-looking as paid domain names.
Step 3: Choose a Hosting Provider
Once you have chosen a platform and a domain name, the next step is to choose a hosting provider. A hosting provider is a company that provides the server space and technology needed to make your website accessible on the internet.
There are several free hosting providers, such as InfinityFree, 000Webhost, and Byet.host. However, these free hosting providers often have limitations, such as limited storage space, bandwidth, and support. Paid hosting providers offer more features and better support, but they come at a cost.
Step 4: Install the CMS
Once you have chosen a platform and a hosting provider, the next step is to install the CMS. The installation process may vary depending on the platform and hosting provider you choose. However, most CMSs have a one-click installation process that is easy to follow.
Step 5: Choose a Theme or Template
After installing the CMS, the next step is to choose a theme or template for your website. A theme or template is a pre-designed layout that determines the look and feel of your website. Most CMSs offer a wide range of free and paid themes or templates that you can choose from.
When choosing a theme or template, it is important to consider the purpose of your website and the type of content you will be publishing. You should also choose a theme or template that is mobile-responsive, as more and more people are accessing the internet from mobile devices.
Step 6: Customize the Design
Once you have chosen a theme or template, the next step is to customize the design of your website. Most CMSs allow you to customize the design using a visual editor or by editing the code directly.
When customizing the design, it is important to
considerations, such as the color scheme, font style, and layout. You should choose a color scheme that reflects your brand or business and is easy on the eyes. The font style should be legible and appropriate for the type of content you will be publishing. The layout should be easy to navigate and should highlight the most important information on your website.
Step 7: Add Content
Once you have customized the design, the next step is to add content to your website. Content can include text, images, videos, and other multimedia elements that convey information to your audience.
When adding content, it is important to consider the purpose of your website and the needs of your audience. You should create content that is informative, engaging, and relevant to your target audience. You should also optimize your content for search engines by using keywords, meta descriptions, and alt tags.
Step 8: Install Plugins or Apps
Most CMSs offer a wide range of plugins or apps that can extend the functionality of your website. Plugins or apps can add features such as contact forms, social media sharing buttons, e-commerce functionality, and more.
When choosing plugins or apps, it is important to consider the needs of your website and the goals of your business. You should choose plugins or apps that are reliable, well-supported, and easy to use.
Step 9: Test and Launch Your Website
Before launching your website, it is important to test it thoroughly to ensure that it is functional and user-friendly. You should test your website on different devices and browsers to ensure that it is accessible to all users.
Once you are satisfied with your website, you can launch it by making it public. You can also promote your website by sharing it on social media, submitting it to search engines, and using other marketing strategies.
In conclusion, creating a free website is a great way to establish an online presence and promote your brand or business. By following these steps, you can create a professional-looking and functional website without spending a dime. However, it is important to choose a reliable platform, hosting provider, and plugins or apps to ensure that your website is secure and performs well.
